Time Machine - Frequently Asked Questions
15. How do I view or restore selected items?
Time Machine - Frequently Asked Questions
15. How do I view or restore selected items?
Viewing and Restoring via the Finder:
Before restoring anything, be sure to quit any app that uses the data you want to restore.
There's a demonstration of two ways to find and restore in the Time Machine Tutorial.
Or, open a Finder window to the appropriate place (a particular folder, your home folder, your internal HD, your Computer, etc.), and Enter Time Machine by clicking the Time Machine icon in your Dock, or select Enter Time Machine from the TM icon in your menubar. The first display is titled Today (Now) at the bottom, and shows the current contents of the folder, drive, or whole system that was selected in the Finder window when you started.
Note that what you see once you're in Time Machine depends on how your Finder window appeared before you clicked the Time Machine icon. If you were on your Desktop, you'll see a Finder window showing only your desktop; if on your home folder, when you get into Time Machine, that's what you'll see. Once there, you cannot add a sidebar for other selections, or the toolbar (you may need the "gear" or "action" icon if you’re on Leopard) by clicking the lozenge in the upper right. If you need these, select them before entering Time Machine.
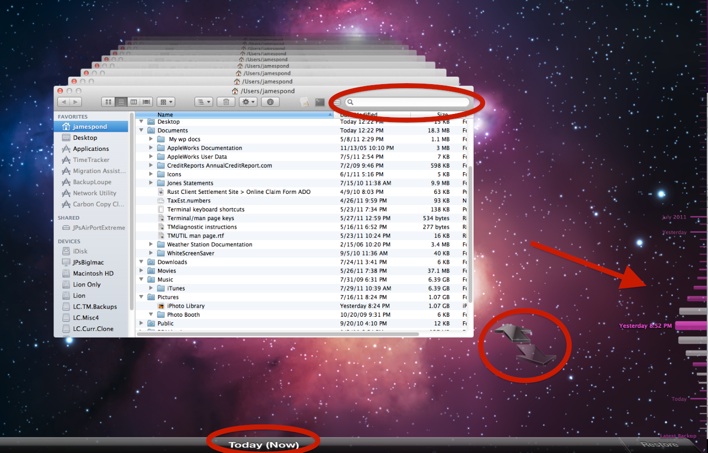
Note the timeline ... this account didn’t exist (so of course wasn’t backed-up), at the time of the backups shown faded out, above the arrow, instead of white or pink, so you can't select those backups (sorry, it’s a bit hard to see in the sample here; see question #15A for details).
Search for the item you want, by entering search terms in the search box at the upper-right corner of the Finder window. Use the arrows and/or Time Line on the right to browse through the backups: the search will be performed in each window you select.
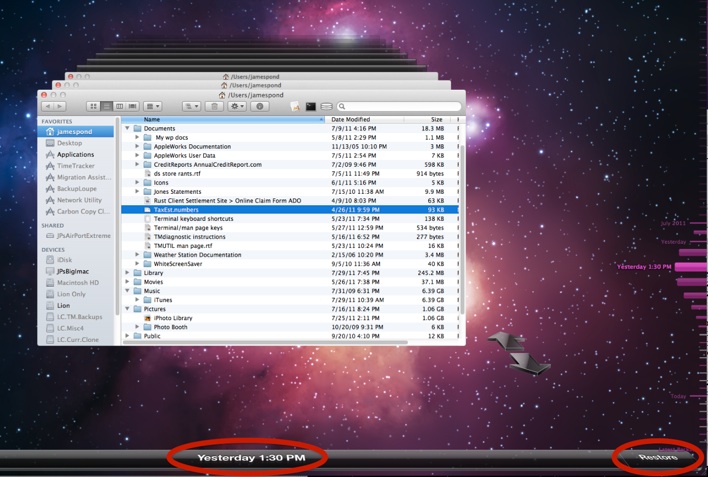
Or navigate to the backup you want to restore from via the "cascade" of Finder windows, or the forward/backward arrows, or the TimeLine.
If you don't know where to look for what you want, see question #28.
Once you find what you want, select it, click Restore in the lower right, and Time Machine will put the selected item in the same place it was saved from (if possible; see below).
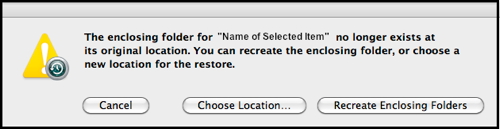
Note: if you’re restoring from a disk or partition that’s no longer connected to your Mac, DO NOT choose Recreate Enclosing Folders, as Time Machine will restore it to the normally-hidden /Volumes folder at the top level of your internal hard drive.
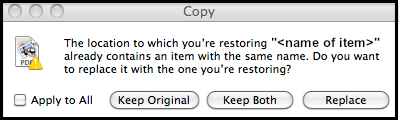
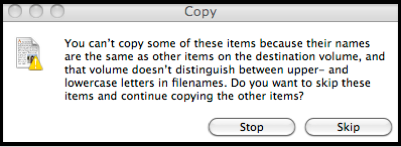
If you select Keep Both, Time Machine will append "(original)" to the name of the item currently on your system. The restored item will have just the name. Each will retain their Created and Modified dates.
Most data can be seen or restored via the Finder, but there are special, easier to-use-displays for some applications under some circumstances.
If you're new to the Time Machine browser (the "Star Wars" display), review the Finder section below first, as the displays and procedures are similar. If you have trouble understanding or navigating the display, including finding the ~/Library folder (the Library folder inside your home folder), see question #15A.
(Note: if you got here from a link saying something like: "see the <colored> box in #15 ...), those boxes have been replaced by links, as noted below):
Then see the appropriate links below for details on the special displays:
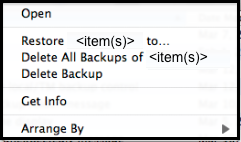
Select the "Restore <item> to ..." option.
You’ll then see a window to choose the desired location. See Question #16 for details.
This page shows how to view or restore selected items only, not the entire contents of a disk or partition.
•To restore an entire OSX drive or partition (ie, a Startup drive), see question #14.
•To restore a data-only drive or partition (e.g., with documents, photos, music, video, etc., but not OSX), use the Finder as below, and select all the top-level folders, not the one representing the drive or partition itself. If the drive is no longer attached, see Troubleshooting item #E3.
•Documents & Data in iCloud (effective with Mountain Lion) (was in a tan box)
Made with apps such as TextEdit, Preview, Pages, Numbers, Keynote
•Contacts/Address Book (was in a yellow box)
•Apple Mail (was in a blue box)
•iPhoto 11 (9.2) and later, on Lion 10.7.2 and later (was in a pink box)
•iPhoto earlier than 9.2 (or iPhoto prior to 9.2): individual photos (was in a gray box)